Residential Wallpaper Installation: What to Expect
Considering wallpaper for your home? Here's what actually happens during residential wallpaper installation, from prep to final walkthrough.
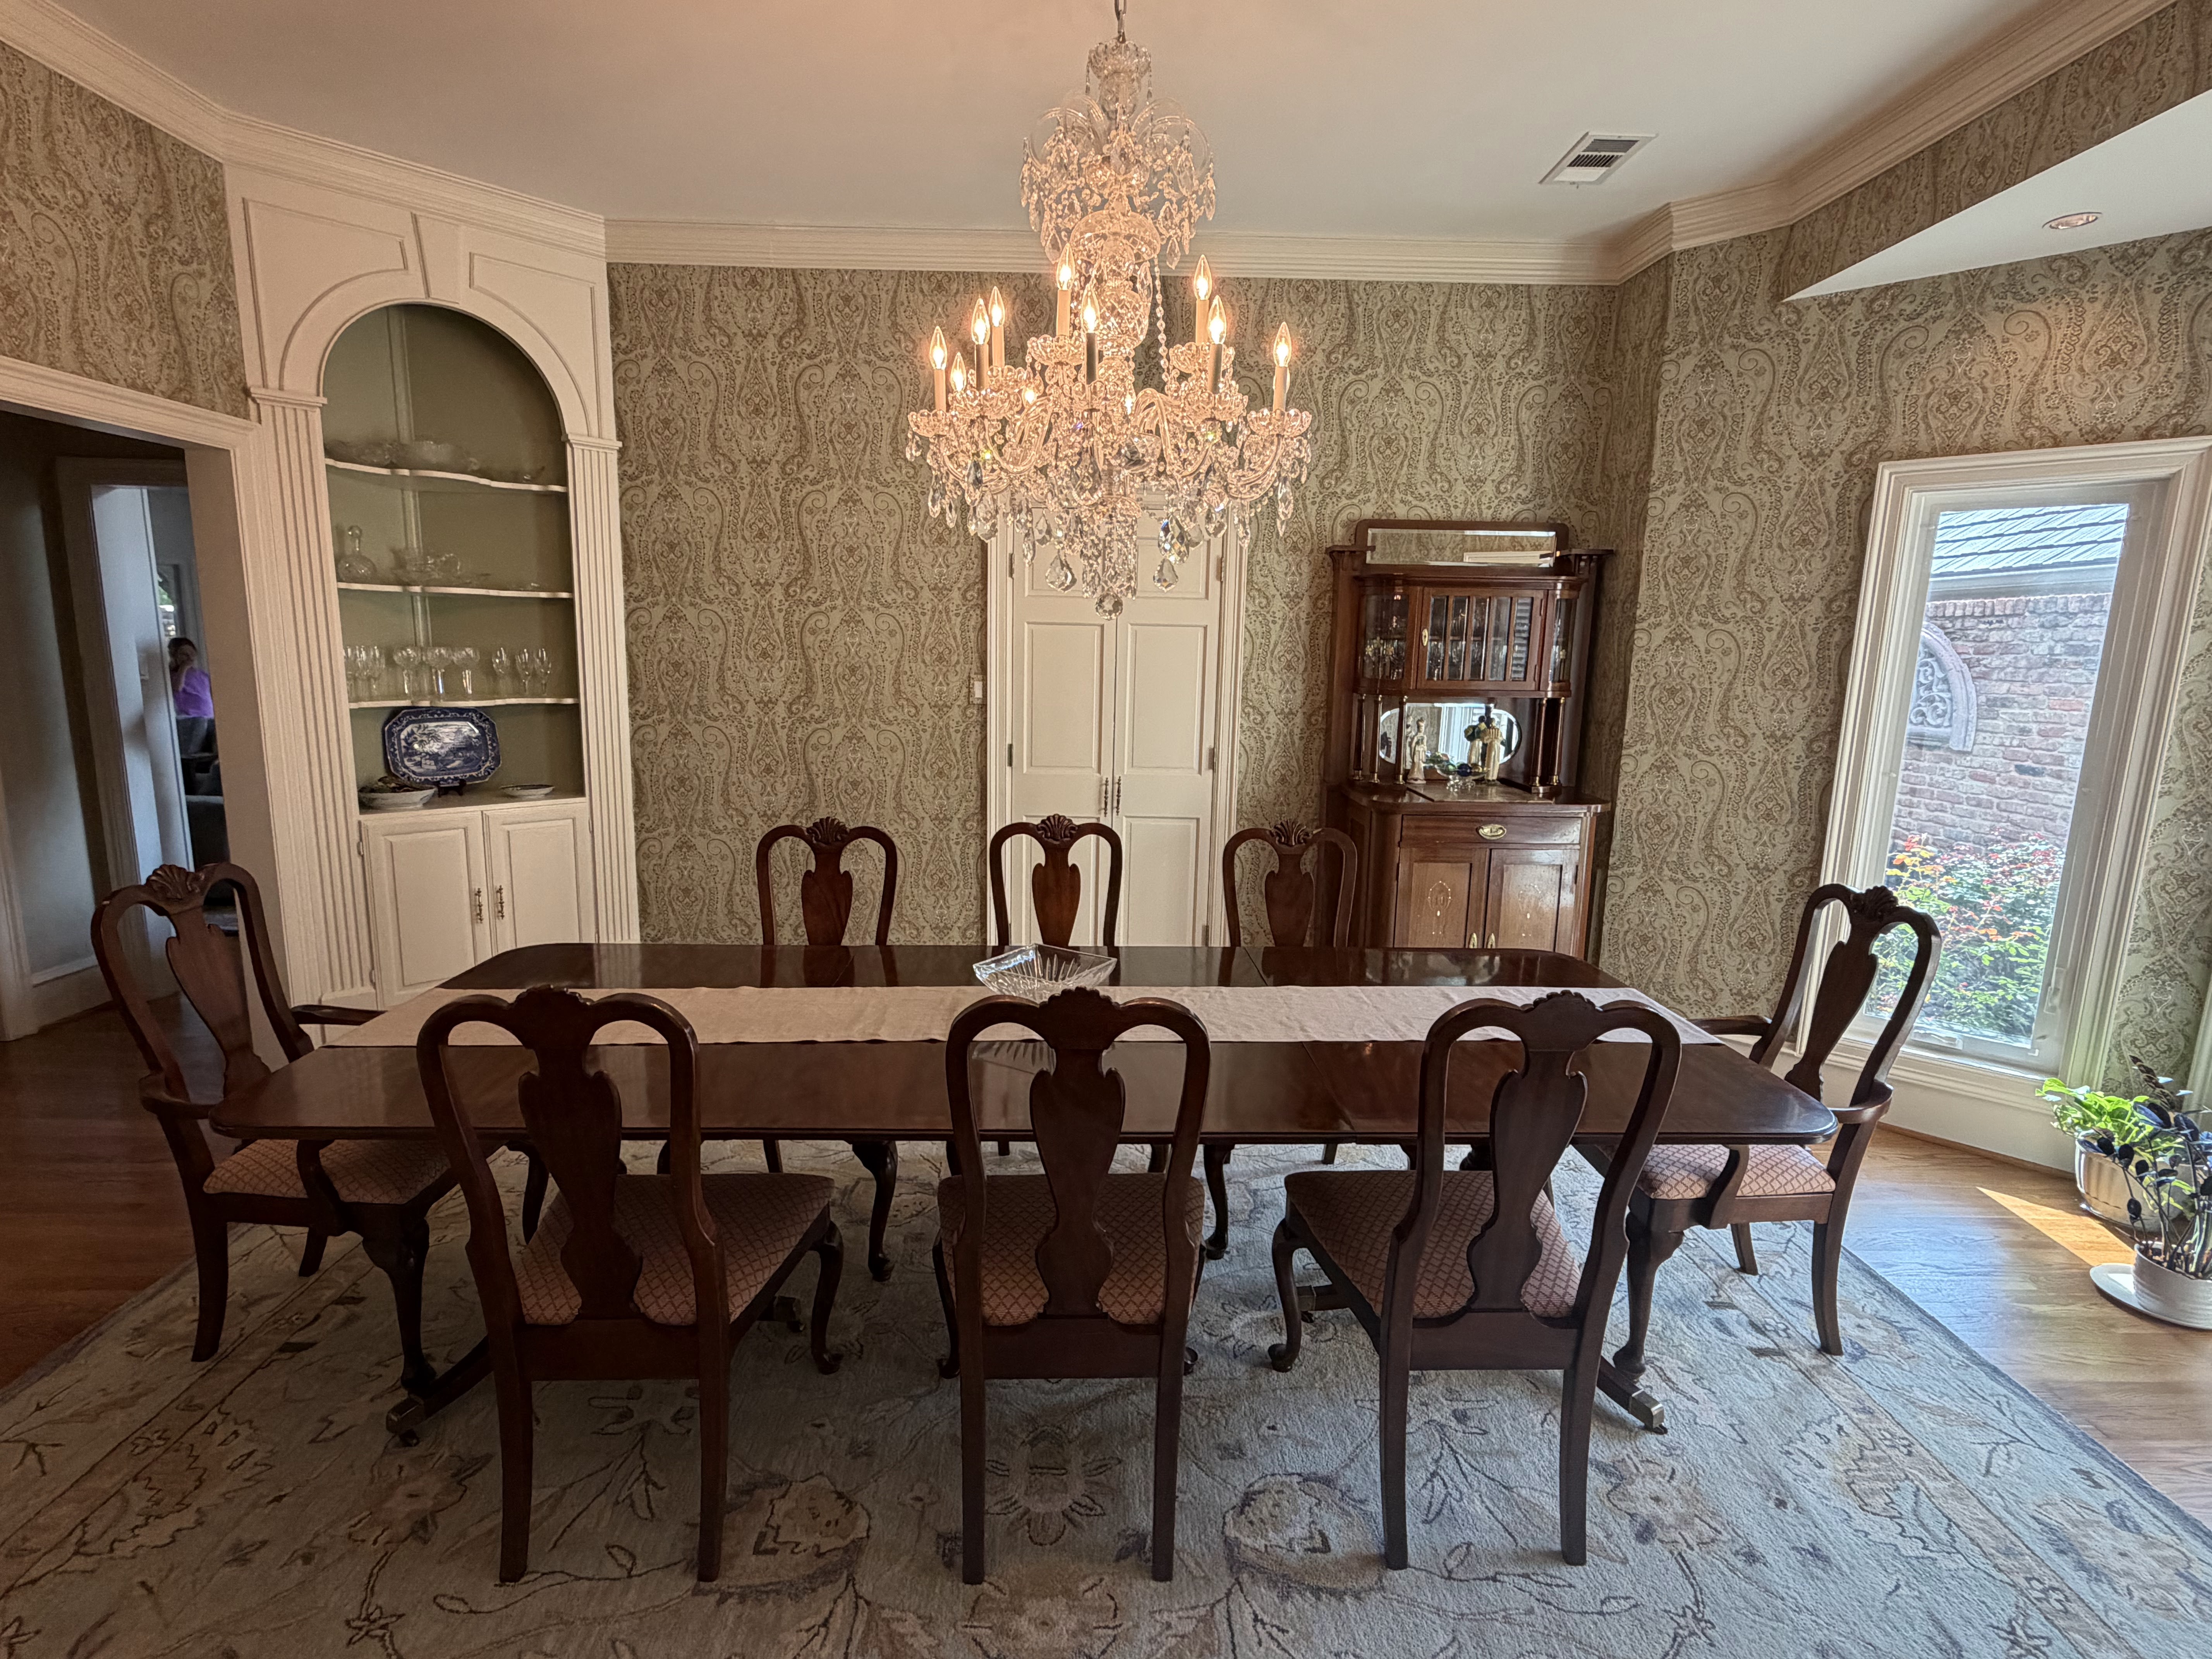
Wallpaper has made a real comeback in home design, but for a lot of homeowners, the actual process of getting it installed is still a bit of a mystery. Unlike paint, which most people have done themselves at some point, wallpaper installation involves steps that aren't obvious until you're in the middle of a project.


Here's a realistic breakdown of what residential wallpaper installation actually looks like, from the first walkthrough to the finished wall.
Before Installation: The Consultation and Assessment
A good installation starts before any wallpaper is even ordered. This stage usually includes:
- Measuring the space : accurately, accounting for windows, doors, and outlets
- Assessing wall condition : checking for existing damage, old wallpaper, or uneven surfaces
- Discussing material choice : since different wallpapers, including grasscloth or large-format murals, require different installation approaches
- Reviewing the pattern repeat : especially for larger or more complex designs, to estimate how much material is actually needed
Skipping this step is one of the most common reasons homeowners end up short on material mid-project, or discover wall issues after installation has already started.
Wall Preparation: The Step Most People Underestimate
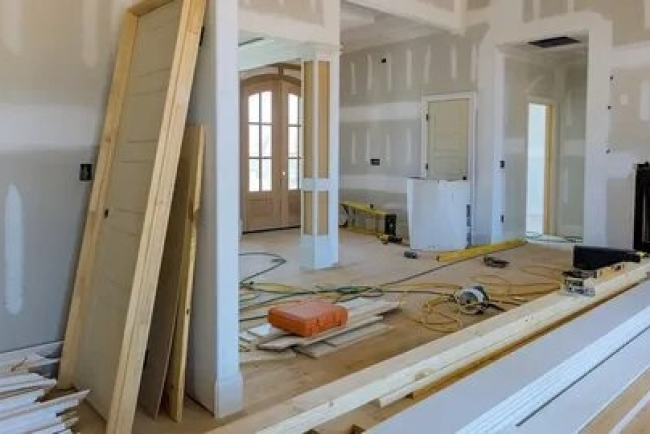
Before any wallpaper goes up, the wall itself needs to be ready. This typically includes:
- Removing old wallpaper, if present
- Patching holes, cracks, or uneven spots
- Sanding rough areas smooth
- Priming the wall, especially important for porous or previously painted surfaces
This stage doesn't always get much attention in before-and-after photos, but it's arguably the most important part of the entire process. A poorly prepped wall will show through the new wallpaper - bumps, seams, and imperfections all become more visible once wallpaper is applied over them.
Installation Day: What Actually Happens
Once the wall is ready, installation typically follows this general sequence:
- Layout planning : mapping out where the first strip will go, usually starting from a plumb line rather than a corner, since corners are rarely perfectly straight
- Cutting and pasting : strips are cut to size (with a little extra length for trimming) and adhesive is applied evenly
- Hanging and smoothing : each strip is carefully positioned, then smoothed from the center outward to push out air bubbles
- Pattern matching : adjacent strips are aligned so the pattern flows continuously across the wall
- Trimming : excess material is trimmed cleanly at the ceiling line, baseboards, and around outlets or fixtures
For a single accent wall, this process might take half a day. A full room typically takes one to two days, depending on size and pattern complexity.
After Installation: What to Expect in the First Few Days
Freshly installed wallpaper needs time to fully set and dry. During this period:
- Avoid touching or leaning on the wallpaper
- Keep the room's humidity relatively stable avoid running a shower or humidifier nearby if possible
- Don't hang anything on the wall for at least a few days, to give the adhesive time to fully cure
A well-installed wallpaper job should have invisible or barely-visible seams, no bubbling, and a pattern that lines up cleanly across the entire wall.
Common Mistakes in DIY Residential Wallpaper Installation
For homeowners considering a DIY approach, a few mistakes come up repeatedly:
- Skipping proper wall prep to save time
- Starting from a corner instead of a plumb line, causing the pattern to drift
- Not dry-fitting strips before applying adhesive, especially with patterned wallpaper
- Rushing the smoothing process, trapping air bubbles that become permanent once the adhesive sets
These issues are usually fixable if caught early, but become much harder to correct once multiple strips are already hung.
When to Consider Hiring a Professional
DIY can work well for small, low-risk areas with simple, forgiving wallpaper patterns, like a single accent wall using a basic repeat. For larger rooms, intricate patterns, or delicate materials like grasscloth, professional installation tends to be worth the investment - both for the quality of the finished result and for avoiding costly redo work if something goes wrong partway through.
Rebirth Paperhanging, a residential wallpaper installer serving Dallas-Fort Worth, is a good example of what a thorough process should look like: a real wall assessment before quoting, material-specific prep, and pattern planning done upfront rather than improvised mid-installation. That kind of process regardless of who ends up doing the work is worth using as a benchmark when comparing installers.
Getting Started With Your Own Project
Whether you're planning a single accent wall or a full-home wallpaper refresh, understanding what's actually involved from wall prep to final trim makes it much easier to set realistic expectations and choose the right approach for your space and budget.
What's Your Reaction?