From Brand Symbol to Stitch Commands: Turning Your Business Logo to SEW File
Stop handing your logo to auto-digitizers that ruin. Learn how to turn your business logo to SEW file that stitches perfectly, from artwork prep to final.
Your business logo is more than just a pretty picture. It is the face of your company, the symbol of your reputation, and the visual trust you have built with your customers. When you decide to stitch that logo onto employee uniforms, promotional caps, or tote bags, you expect it to look flawless. But here is the reality check. You cannot simply drag and drop a PNG or JPEG file into an embroidery machine and hope for the best. Those machines do not understand colors or shapes; they only understand precise, coded instructions. This is where the critical process of turning your Business Logo to SEW File format becomes essential. A SEW file is the specific language spoken by Janome and Elna embroidery machines . Without this proper translation, your machine will either reject the design or produce a messy, unrecognizable blob of thread that damages your brand image. Let us walk through exactly how to get this right.

What Exactly is a SEW File and Why Does It Matter?
Think of a SEW file as a highly detailed roadmap for a needle . Unlike a standard image file that simply shows colors and pixels, a SEW file contains coded instructions that tell the embroidery machine exactly what to do . It dictates the stitch type, the stitch direction, the path of the needle, and even the sequence of color changes . The machine relies on this data to know when to use a satin stitch for a smooth border or a fill stitch for a large area . Without this specific data, your machine is essentially blind. This is why you cannot just use a JPG or PNG; they are purely visual and lack the functional data required for stitching .
Step 1: Starting with Clean, Professional Artwork
The journey to a perfect SEW file begins long before you open any digitizing software. It starts with the quality of your artwork. You cannot take a tiny, pixelated image from your website and expect it to stitch into a crisp logo. Professional digitizers live by this rule: garbage in, garbage out .
The gold standard for your starting artwork is a vector file format like AI, EPS, or SVG . These files are mathematically defined, which means they can scale to any size without losing quality or becoming blurry. If you only have a raster file like a JPG or PNG, ensure it is high-resolution and has a transparent background . You also need to simplify the design . Remove any complex gradients, drop shadows, or extremely fine details that are smaller than a quarter of an inch. These elements simply confuse the digitizing process and often turn into an unreadable mess on fabric .
Step 2: The Human Touch of Professional Digitizing
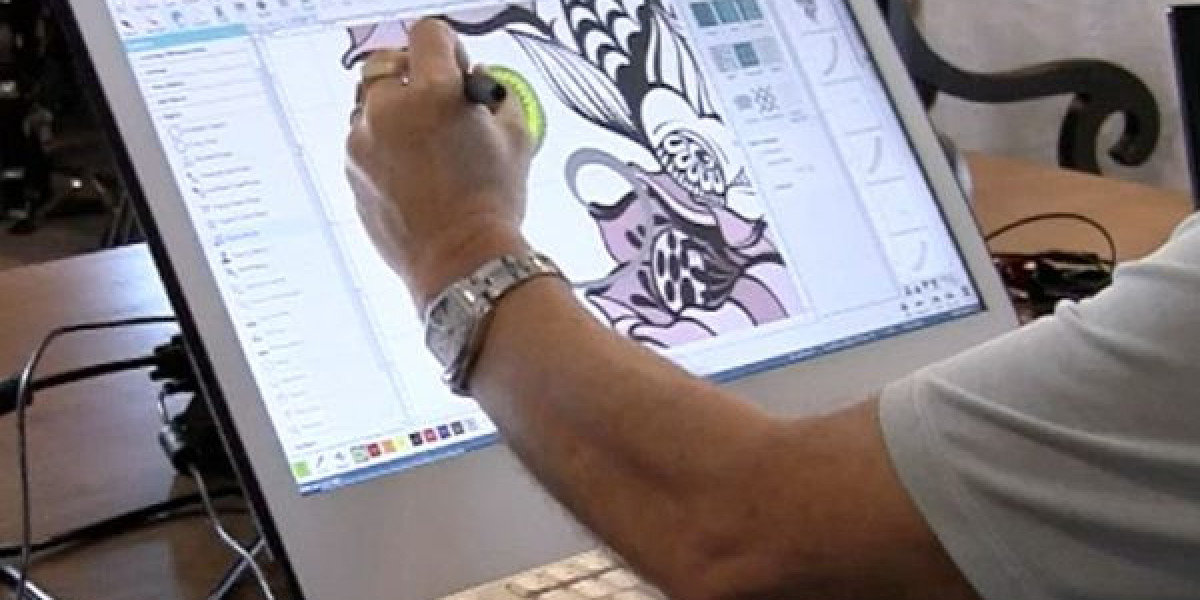
Once your artwork is ready, it is time to import it into professional embroidery software. Programs like Wilcom Embroidery Studio or Hatch by Wilcom are the industry standards . This is where the magic happens. You are moving from a visual image to a physical set of instructions.
A skilled digitizer will not just click an "auto-convert" button. They will manually assign specific stitch types to every element of your logo . Large, solid areas are assigned fill stitches (also known as tatami stitches) to create smooth coverage. Borders and text are assigned satin stitches to give them a raised, shiny edge. Fine details and outlines are given run stitches for precision . This manual assignment is crucial because it ensures the texture and look of the final product are exactly as you envision.
Step 3: Mastering the Technical Details
This is where professional digitizers earn their pay. Several technical variables can make or break a SEW file.
First is underlay. This is the hidden layer of stitching that goes down first, before any visible thread . It acts as a foundation, stabilizing the fabric and preventing the top stitches from sinking in or shifting. Without proper underlay, your design will look uneven and messy .
Next is stitch density. This is the spacing between stitches . If the density is too high, the fabric will pucker, and threads will break constantly. If it is too low, you will see the fabric backing through the design, making it look cheap. The right density depends entirely on the fabric you are using. A heavy fabric like denim can handle a higher density than a delicate knit .
Finally, a good digitizer applies pull compensation . When the machine stitches, the thread tension pulls the fabric together, distorting the shape. Pull compensation is a technique where the digitizer widens certain areas in the file so that they end up the correct size after the stitching pulls them inward . It is a predictive art that separates amateur files from professional ones.
Step 4: Setting the Color Sequence and Exporting
Once the stitches are mapped out, the digitizer assigns thread colors. Different thread brands have different color codes, so they must match the closest available shades to your logo . They also arrange the stitching order, or sequence. This groups the same colors together to minimize unnecessary thread changes and machine jumps, which saves time and reduces waste .
After all settings are finalized and the design is test-stitched for accuracy, the file is exported in the SEW format, ready for your Janome or Elna machine . Professionals will often provide backup formats like DST or PES for flexibility with different machines .
The Golden Rule: Never Skip the Test Stitch
Here is the most critical rule in embroidery. You must test the file before you commit to a bulk order. Even the most experienced digitizers make mistakes. Load your SEW file, grab a scrap piece of the exact fabric you plan to use, and stitch it out. Watch the entire process . Look for puckering, thread breaks, or gaps in coverage. If you see issues, go back to your editable file, adjust the density, pull compensation, or underlay, and test again. Skipping this step is a recipe for ruining garments and wasting money . A test stitch is the cheapest insurance you can buy.
DIY vs. Hiring a Professional: Which is Right for You?
Converting a logo to a SEW file is a significant undertaking. You have three main paths to choose from .
The first is buying professional software and learning to digitize yourself. This gives you long-term control but requires a steep learning curve and a serious time investment. Software like SewWhat-Pro offers an affordable entry point, but mastering the art takes years .
The second is using free tools like Ink/Stitch with Inkscape. This costs nothing but demands significant technical knowledge and manual effort, and the results are often hit-or-miss .
The third, and often smartest choice for business owners, is to hire a professional digitizing service . For a small fee, often starting around $10 to $15 per design, you get expert results without the software costs or the learning curve . Professionals guarantee quality, provide unlimited revisions, and deliver fast turnaround. This is especially smart if you value your time and need brand consistency.
Conclusion
Your business logo represents the blood, sweat, and tears of your company. When you put it on a uniform, it should look professional and make you proud. The process of converting a logo to a SEW file is not a simple file save. It is a skilled translation from visual art to a physical language of stitches. It requires clean artwork, manual digitizing, technical adjustments like density and pull compensation, and rigorous testing. While you can learn to do this yourself, hiring a professional ensures your logo is handled with the expertise it deserves. So, the next time you need custom embroidery, remember that the file matters as much as the thread. Invest the time or the money to get it right, and your brand will look flawless in every stitch.
What's Your Reaction?